
Blog
Introducing the Newly-Redesigned Etoile Web Design Website
Read Post →
Build a WordPress Educational/NGO Website – Choosing Plugins
This is the blog post that accompanies the following video:
Transcription:
In this video, we’re going to be adding in the plugins needed to finish up our site’s content. At this point, you should have a hosted WordPress site set up with a number of pages and a theme selected. If not, check out the earlier videos in this tutorial series.
Before we get started with searching for, installing and activating plugins on our site, it makes sense to take a couple of minutes to explain what WordPress plugins are. When it was first created, WordPress was designed as a blogging platform, meaning that by default, WordPress comes with almost everything you need to run a simple blog. Over time WordPress has become the most popular online platform to build a wide variety of websites. Plugins are tools, many of which are available for free, that add functionality to websites beyond just posting, updating and removing content. They come in all different shapes and sizes, from small things like adding a contact form to your website all the way up to adding an e-commerce store to your site.
We’ve got an entire tutorial series on when a plugin is the right tool for the job and how to know which plugin to choose, but we’ll go over the basics here. If there’s something that you want to let visitors do on your website other than just read your content and leave comments, a plugin is probably the way to go. When you’re choosing which plugin in particular to go with for your site, you can browse the plugins details to look for a number of things similar to what you’d look for when hunting for a theme.
First off, does the plugin do what you want it to do? For example, if you need an FAQ section, make sure that the plugin can actually add FAQs to your site. This one seems intuitive, but a lot of people waste time thinking that a plugin is broken when actually it’s working perfectly, it’s just not made to do what you want it to do. Next, check to see how many installs the plugin has and whether it’s well reviewed or not. Pretty straight forward. It’s also a good idea to see if there’s support for the plugin, by checking its support forum and seeing if questions are being answered. Finally, take a look at the screenshots to see if the plugin’s look fits with your site, and if it can be customized. A lot of plugins will also have a demo site set up, so checking that out can be a good idea as well.
Now that we’ve got an idea what we’re looking for, let’s add a few plugins that will be important to running our organization’s website. Visitors often have questions they want answered when browsing an organization’s website, so we’ll help to answer those questions in two ways. First, we’re going to add an FAQ plugin so that visitors can find answers to their questions quickly, and without any effort on your part. Second, we’ll add a contact form so that any questions missing from your FAQ can be asked directly. Finally, we’ll add in a status tracking plugin, which can be useful if you accept applications through your website, using an order tracking plugin. If you’re not going to be accepting applications for volunteer or other positions within your organization, you can skip this final plugin.
We’ll add one plugin at a time, and set up each plugin as we go. To get started adding those plugins, head to the WordPress admin area and go “Plugins” -> “Add New”. For our contact form, we’ll use WP Forms. It’s well reviewed, so type “WPForms” into the search box, click “Install Now”, and then once it’s installed, press “Activate”.
You should see a helpful installation screen come up which we’ll use to create our first form. Click the “Create Your First Form” button, and select “Simple Contact Form” as a template. This form has most of the fields that we want for our contact form, name, email and message, but it could be good to add in a subject field as well. Click on “Single Line Text” and drag it just below “Email”. Click on it, and change the title to “Subject”. Let’s also make sure that the contact form gets sent to the right email once it’s submitted. Click on “Settings” -> “Notifications” and change “{admin_email}” to the email address you where you’d like to receive contact form submissions. Once that’s done, click the “Save” button at the top of the page.
Next, click “Embed” and copy the line of text. The text inside of the brackets is called a shortcode. Shortcodes let you embed content from a plugin into your desired page. Click the “X” at the top of the page, then navigate to the “Pages” menu. Click on the “Contact Us” page we created earlier, and paste the shortcode that we had copied earlier into the page. Open the contact page in the new tab, and you should now see a contact form on the page. We can try submitting the form, and hopefully you should receive an email with a new contact form submission. If not, check out our video on installing “WP Mail SMTP by WPForms”, which can help to prevent problems with emails being caught in spam filters.
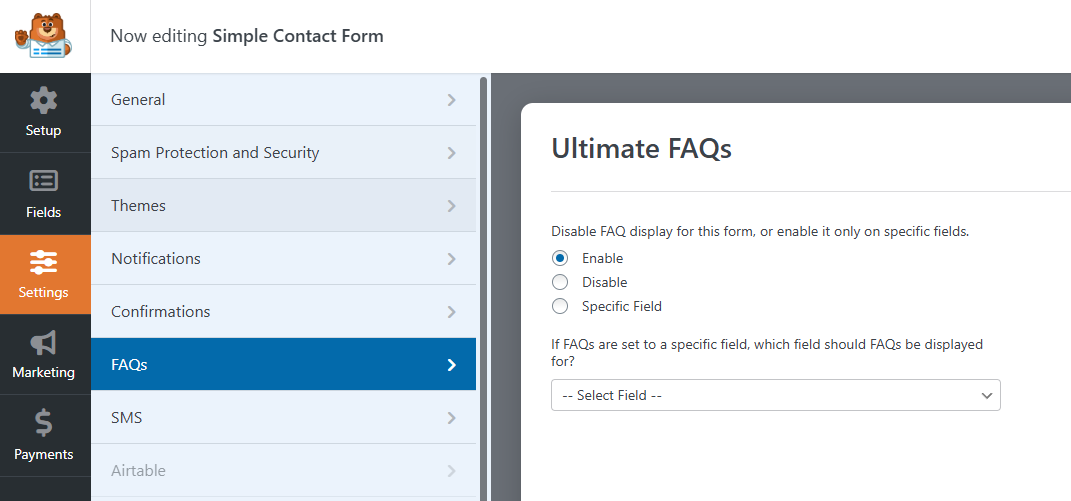
For our FAQs, we’ll use the “Ultimate FAQs” plugin. Once it’s installed, go through the installation wizard again. We’ll use the installation screen to create a couple of FAQs categories, as well as a few FAQs. We’ll leave most of the settings alone for now, and then copy the shortcode that’s needed to display our new FAQs. Go to the pages section and paste the shortcode that you copied into our FAQs page. You should see the FAQs that you created displayed on our FAQs page.
Next, let’s add in a status tracking plugin, so that visitors are able to see the status of their application as they move through the application process. This plugin can also be used to help track the status of assignments, or really, anything that a specific visitor might want to know the status of. Add the “Status and Order Tracking” plugin, and then go through the installation screens. We’ll let the plugin create a status tracking page for us, and we can create a test item so that we can make sure that the form is working correctly. Next, let’s add a link in our menu to our newly created tracking page. Go to “Appearance” -> “Menus”, select the new page, and add it to the menu.
The last type of plugin to consider adding to your site is a security helper plugin. Two popular choices for that are WordFence and iThemes Security. We’ve linked to a helpful post on installing both of those in the video description below.
That’s it for the plugins we’re going to be adding in this video. It probably makes sense to spend a bit of time setting up your FAQs at this point before moving on to the next video in our series, finishing touches for your site. We’ve also added links to some extra tutorials in case you’d like to familiarize yourself a bit more with the plugins we’ve just installed.


Discover all of our WordPress plugins
Browse Plugins