Blog
Introducing the Newly-Redesigned Etoile Web Design Website
Read Post →
Build a WordPress Freelance Website – Site Content
This is the blog post that accompanies the following video:
Transcription:
The most important part of any website is the content. In this video, we’re going to create 7 pages that most freelancers will want to have: a home page, a services section, a portfolio page, an FAQ page, a job tracking page as well as about us and contact us pages. At this point, you should have a domain with WordPress installed and user accounts created for the people who need them. If you don’t, check out the earlier videos in our tutorial series.
To get started, log in to your website with your editor account. Let’s start by creating our homepage with a bit of basic content. Most themes will have a separate homepage template, so we won’t worry too much about this page for right now. Go to the “Pages” section of the WordPress admin, and click on the “Add New” button at the top of the page. We’ll call our page “Home” for now by clicking the title bar and typing in “Home”, but you could title this page your business’ name as well. Next, write a couple of quick sentences describing your business, and hit the “Publish” button. Congratulations, you’ve just added the first page to your site!
Next, let’s make the page that we just created the homepage for our site. To do that, go to “Settings” -> “Reading” in the WordPress admin menu. Click on the “A static page” radio button, and select “Home” from the “Front Page” dropdown menu of the pages on your site. Scroll down, and click the “Save Changes” button. Next, open up a new tab, and navigate to your website. You should now see the page you just created when you enter your site’s URL.
Great. Next, we’re going to create 3 pages that are important for most freelance websites. Go to the “Pages” section again, and click on “Add New”. This time we’ll title our new page “Portfolio”. The format of this page depends on whether you plan on adding content frequently to your portfolio or not. We’re going to set up our portfolio page for infrequent updates. If you plan on adding a number of items to your portfolio each month, you will instead want to set up your portfolio as a post archive page, and have your portfolio items as the posts in that archive.
Our fictitious freeelancer will start with 3 items in their portfolio. We’re going to add a title, image and short description for each of those items. We’ll start by adding in the titles and the descriptions for each item. Once that’s done, we can add in an image for each of the items. Click the “Add Media” button, go to “Upload Files”, upload the files you want to display for each item in your portfolio, select the image you want to include with your first item, and then press “Insert into Page” to add it. Repeat the selection process for the other two items in your portfolio, then hit the “Publish” button, and our portfolio page is done for now.
We’ll create a services page by clicking “Add New” at the top of the page. Enter “Services” into the title bar, and then describe your services in the content editor below. The content is very dependent on your business, but it’s important to keep in mind the kind of information your visitors will want to know. This usually includes what that services entails, as well as what makes receiving that service from your group different from the competition. At the bottom, we’ll add a line asking visitors to contact us if they’ve got any questions about our services.
Next up, we’re going to create a “Tracking” page. We’ll be using a plugin to let customers track their orders, so for now just create a new page, title it “Tracking”, add “Tracking coming soon” to the content section, and then hit the “Publish” button.
That’s it for pages that are really specific to freelancers. We’re also going to add three pages that most sites need: an about us page, which talks about the history of your business and what makes you unique, an FAQ page, so that common questions can be answered quickly for visitors, and a contact us page, so that visitors can get information on how to contact you by phone along with listing your address.
Let’s create our “About Us” page. We do it in exactly the same way as the other pages, just this time we’ll add a couple of paragraphs of content, and a bullet point list explaining our values. Things you usually want to mention in an “About Us” page include things like how long you’ve been doing the work you do, what you offer that is unique compared to other organizations doing similar work, and any specialties you might have. We’ll also add in a bullet point list, talking about our values. To do that, click on the “Bulleted List” button. We’ll list our values as “Courteous”, “Prompt” and “Results-Oriented”. Hit “Publish”, and then press the “Add New” button.
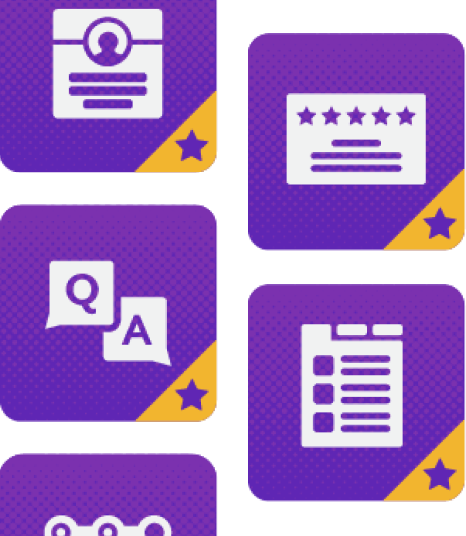
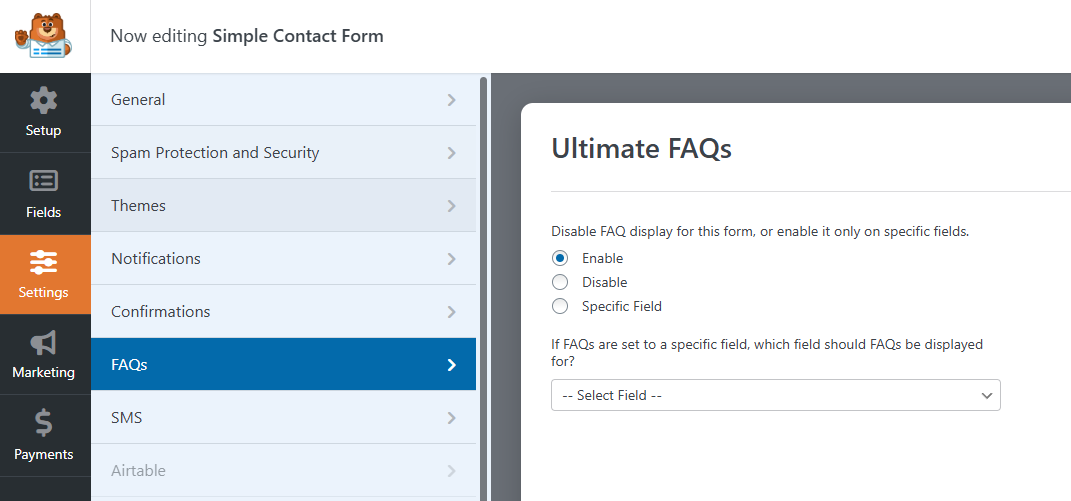
For the FAQ page, we’ll just put in our title “Frequently Asked Questions” and then add a sentence saying “FAQs coming soon” before hitting publish. We’ll be adding in FAQs using a plugin in a later video.
Finally, we’ll add a “Contact Us” page. The format of this page depends a bit on the type of business you run. If you’ve got a brick-and-mortar building, it might make sense to list your address along with your phone number. Most business will want a contact form, so that potential customers are able to get in touch with you easily to have their questions answered. We’ll go over adding a contact form in our plugins video as well, but for now, it’s probably a good idea to add a phone number at the very least. If you want to add an embedded map showing the location of your business, we’ve linked to our video of it in the description.
That’s it for the basic content of your freelance site! In the next video, we’ll choose a theme, customize it with your color scheme and pictures, and build a proper homepage for your website.

Discover all of our WordPress plugins
Browse Plugins